


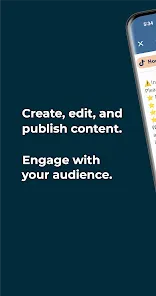
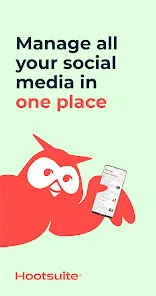
Hootsuite is a social media management platform that allows users to schedule posts, monitor conversations, and analyze social media performance. It also offers a mobile app that allows users to manage their social media accounts on the go. The app allows users to schedule posts, monitor conversations, and analyze social media performance from their mobile device.
1. Bulk Scheduling: Schedule multiple posts at once and save time. 1. Download the Hootsuite mobile app from the App Store or Google Play. 2. Log in to your Hootsuite account. 3. Select the social media accounts you want to manage. 4. Tap the “Schedule” button at the bottom of the screen. 5. Select the social media account you want to post to. 6. Enter the text of your post in the text box. 7. Select the date and time you want the post to be published. 8. Tap the “Schedule” button to save your post. 9. Repeat the process for any additional posts you want to schedule. 10. When you’re done, tap the “Done” button to return to the main screen.Features
2. Automated Posting: Automatically post content at the best times for engagement.
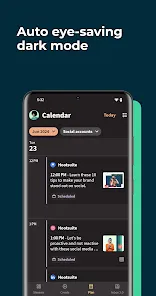
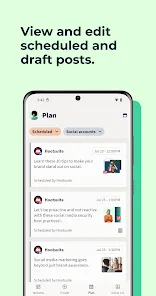
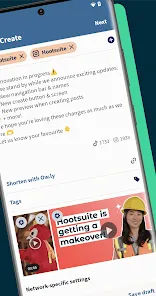
3. Social Media Calendar: View and manage all your scheduled posts in one place.
4. Team Collaboration: Assign tasks, share drafts, and get feedback from team members.
5. Analytics: Track the performance of your posts and measure the success of your campaigns.
6. Customizable Reports: Create custom reports to track the performance of your social media accounts.
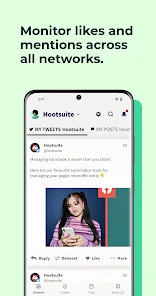
7. Social Listening: Monitor conversations and keywords across social media platforms.
8. Mobile App: Manage your social media accounts on the go with the Hootsuite mobile app.
9. Security: Keep your accounts secure with two-factor authentication and single sign-on.How to use Hootsuite: Schedule Posts Mobile App?


Yes, users can submit suggestions or feedback through the Hootsuite support channels or their official website.
Yes, Hootsuite: Schedule Posts collects personal data as outlined in their privacy policy, mainly for account management and service improvement.
Hootsuite: Schedule Posts requires an internet connection for most functionalities, and offline capabilities are limited.
You can cancel your subscription through your account settings on the Hootsuite dashboard or by contacting customer support.
Subscription costs vary based on the plan selected, typically starting from a monthly fee for basic plans and increasing for premium features.
No, you must log in to your account to schedule posts on Hootsuite.
You can contact customer service through the help section on the Hootsuite website or via the support chat feature.
You can find your customer number in your account settings or by contacting customer service directly for assistance.
If you're unable to activate your account, you can reach customer service via email or the support chat on the Hootsuite site.
You can log in to your Hootsuite account using your email and password on the Hootsuite website or app.